Validating your local server
Rocket Validator can validate your local development server, which provides the fastest development experience as you can skip the deployment phase. All you need is to set up a local tunnel to your local server, so you have a public URL that Rocket Validator can access.
Using your local server port
If you're already working with a local server, you just need to find out what the local port is. For example, in case of Rails applications, the default port is 3000. For Phoenix applications, the default is 4000. This may be customized, in the end it's the numeric part in the url after the :, for example in http://localhost:3000 the port is 3000.
Launching a local server

If you're not working with a local server, for example when you just have a directory with static files, you can quickly launch a server using serve. You can install it with one line:
npm install --global serve
Once installed, you can run this command inside your project's directory with:
serve
And this will run a server in the port 3000. Run serve --help for a list of other options.
Once you have a running development server and you know your port number, you just need to set a up a tunnel to get a public URL.
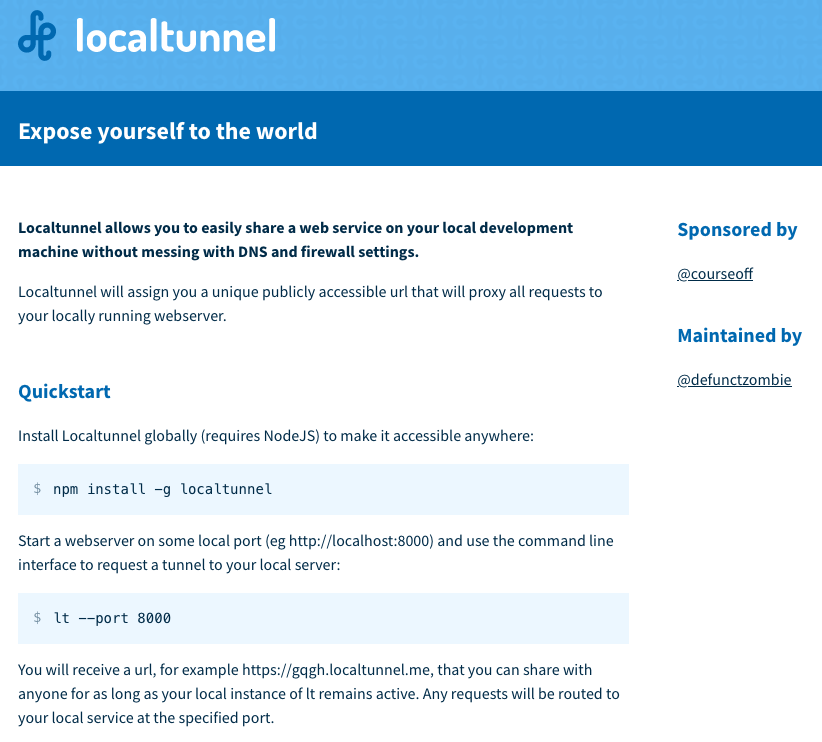
localtunnel
localtunnel is a free and open source service that lets you expose your local development server with a public URL.

Install it with:
npm install -g localtunnel
And launch your local tunnel with the lt command, indicating the port where your server is running:
lt --port 3000
This will create a random URL for you - we recommend using the --subdomain option to set a custom subdomain for your site, like this:
lt --port 3000 --subdomain example
That's all you need!
You can now use your public URL (in the above example, it would be https://example.loca.lt) to validate your development server with Rocket Validator.
Other tunnel providers
We love localtunnel because it's open source, doesn't require sign up, and lets you use subdomains for free, but there are many other tunneling services that you can use: